11 Nov 2026
Lighting a 3D visualization
Build a clear render by deciding what the viewer should see before adding more lights.
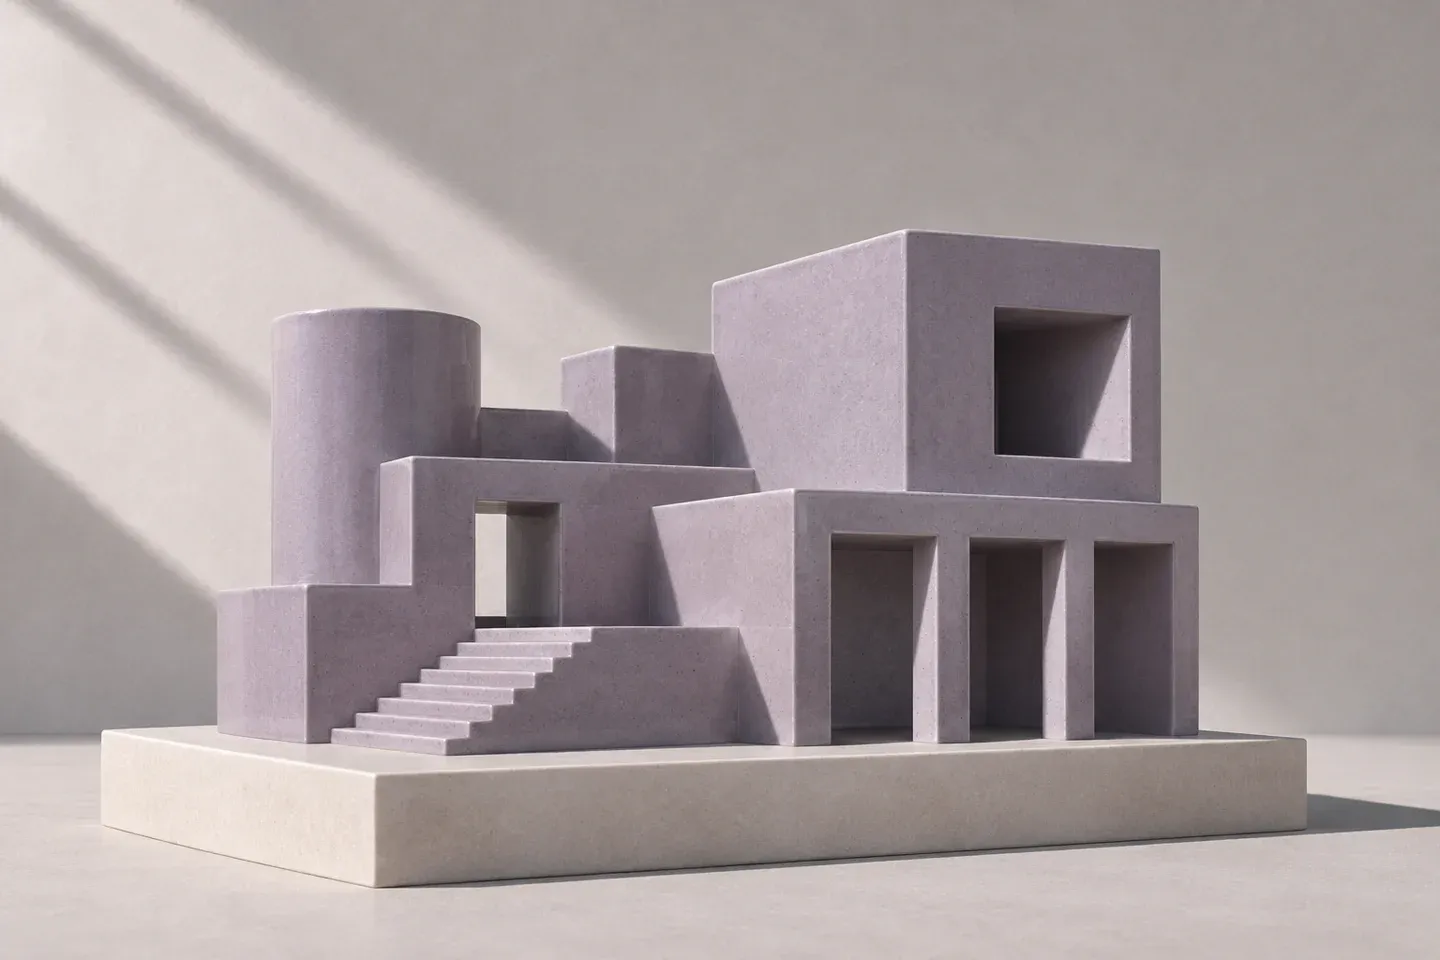
Begin with one broad light and a neutral material. Rotate the light until the main surfaces separate clearly. At this stage, the image should communicate the shape without relying on texture.
Place the camera early
Use a few camera angles to test what the render needs to show. A low angle emphasizes height. A higher one reveals the arrangement of parts. Choose the view that makes the subject easiest to understand.
Check the shadows
Look at the contact shadows where the object meets its base. They anchor the subject and help the viewer read depth. Add a softer fill if the dark areas lose necessary detail.
Add material last
Introduce one material at a time and review it under the same lighting. Check the render at thumbnail size before increasing the resolution. The main silhouette should still be easy to recognize.